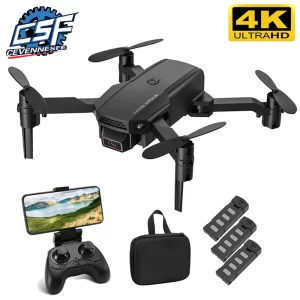
The removal and installation of unmanned aerial vehicles (UAVs), or drones, is an important aspect of their operation. Proper removal and installation procedures ensure that the UAV is properly secured and safe for transport, as well as ready for use in the field. In this article, we will discuss the key steps involved in the removal and installation of UAVs.
Step 1: Safety Checks
Before removing or installing a UAV, it’s important to perform safety checks to ensure that the area is clear and free from any potential hazards. This includes checking for any obstacles that could interfere with the UAV’s flight path or any hazards that could pose a danger to people or property.
Step 2: Power Down the UAV
Once the area has been deemed safe, the next step is to power down the UAV. This involves turning off any electrical or electronic components and ensuring that the battery is disconnected. This helps to prevent any accidental movement of the UAV and also reduces the risk of damage to the UAV’s components during transport.
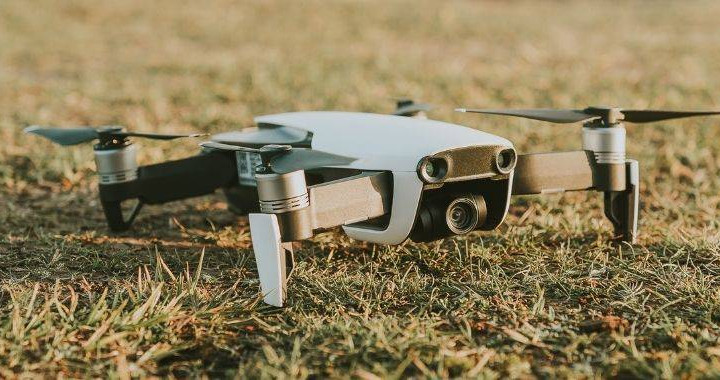
Step 3: Remove the Propellers
After the UAV has been powered down, the next step is to remove the propellers. This involves using a wrench or pliers to loosen the screws that hold the propellers in place. It’s important to note that the propellers should be removed in a specific sequence to ensure that they are properly balanced when they are reinstalled.
Step 4: Detach the Camera or Payload
Depending on the type of UAV and its intended use, it may be necessary to detach the camera or payload before removing the UAV from its mount. This involves disconnecting any electrical or electronic components and ensuring that the camera or payload is properly secured for transport.
Step 5: Remove the UAV from its Mount
Once the propellers and camera or payload have been removed, the UAV can be safely removed from its mount. This involves using a wrench or pliers to loosen the screws or bolts that hold the UAV in place. It’s important to note that the UAV should be removed slowly and carefully to prevent any damage to its components.
Step 6: Transport the UAV
After the UAV has been removed from its mount, it can be safely transported to its destination. This involves carefully securing the UAV in a transport case or other container to prevent any damage during transport.
Step 7: Reinstallation of the UAV
The process of reinstalling the UAV is similar to the removal process, but in reverse. This involves carefully securing the UAV in its mount, attaching any necessary components such as the camera or payload, and reinstalling the propellers in the correct sequence.
Step 8: Perform Safety Checks
After the UAV has been reinstalled, it’s important to perform safety checks to ensure that it’s ready for use. This includes checking that all components are properly connected and that the propellers are properly balanced. It’s also important to perform a test flight to ensure that the UAV is operating correctly.
In conclusion, the removal and installation of UAVs is an important aspect of their operation. Proper removal and installation procedures ensure that the UAV is properly secured and safe for transport, as well as ready for use in the field. The key steps involved in the removal and installation of UAVs include performing safety checks, powering down the UAV, removing the propellers, detaching the camera or payload, removing the UAV from its mount, transporting the UAV, reinstalling the UAV, and performing safety checks. By following these steps, UAV operators can ensure that their UAVs are properly secured and ready for use.